
In this part we will be using a Digistamp in PSP and Use the Airbrush tool to colour it in and make a pretty background paper..
.so open your PSP this will work in all versions... Im using psp9 here however some of the newer ones will have the tools in a different place..
.so open your PSP this will work in all versions... Im using psp9 here however some of the newer ones will have the tools in a different place..
What you'll need: Background paper: Digistamp: Colour Palette

To read about digistamps and how to install PS and AI brushes got to the files pages above or click here
Open PSP and either find in your stash or make yourself a 3600 x 3600 300dpi white background paper and add some colour by either using blot brushes or using the air brush...I've picked the we used in the last tutorial so they match.

Its a little dark so we will lighten it.. its a flattened image so we need to promote the background to a layer
Add a new Layer Fill it with white and drag this layer below the background
Now lower the opacity on the backround layer till you have something quite soft and pretty i went down to 42%

Merge Flatten
Add a new layer
Choose your digistamp and paste it into this layer

Rename this Layer BASE
New Layer
**Note: Be sure to remember that every time we use a different colour we will need a new layer
Select the airbrush tool;

And use these settings Shape: round Size: 85 Hardness: 0 Steps: 5 Density: 40 Thickness: 51 Rotation: 0 Opacity : 5 Blend: Normal Rate: 1

well be working on the top new layer

choosing the colour you have chosen paint inside the inside of the petals...don't worry about going over the lines we will clean up later and if there's gaps all the better it shouldn't be too neat

New Layer
Change your brush size to 22 your brush opacity to 15 and your foreground colour to the one you have chosen for the flower centres and buds and fill those in again it wont hurt if its messy

New Layer
Change your brush size to 35 keep your brush opacity to 15 and your foreground colour to the one you have chosen for the leaves and fill those in

New Layer
Keeping your brush size to 35 and your brush opacity to 15 change your foreground colour to a darker shade that you have chosen for the leaves and fill half the leaves with that,,do all the leaves on the same side to look like the sun is on them

Lower the layer opacity to about 68
New Layer
Change your brush size to 84 and keeping your brush opacity to 15 change your foreground colour to a darker shade that you have chosen for the petals and fill half like you did with the leaves staying more to edge thought on the same side again to look like the sun is on them

Lower the layer opacity to about 68
these are the layers you should have now

Now hide the Base and merged background layers by clicking the eyes next to the layer

select one of the other layers right click and select Merge Visible

rename this layer Colour and drag it down below the Base layer

keep this layer selected and unhide the other layers
Select your Eraser tool

And use these settings Shape: round Size: 32 Hardness: 100 Steps: 25 Density: 100 Thickness: 48 Rotation: 0 Opacity : 26
Now with the eraser you can tidy up the outside of the lines...you can make it as neat as you like but i think a few bits showing look quite good and shows its been done by hand

Once your happy you can go ahead and merge all the layers
but try experimenting with the blend modes on the top layer

Luminance

Overlay

Hard light
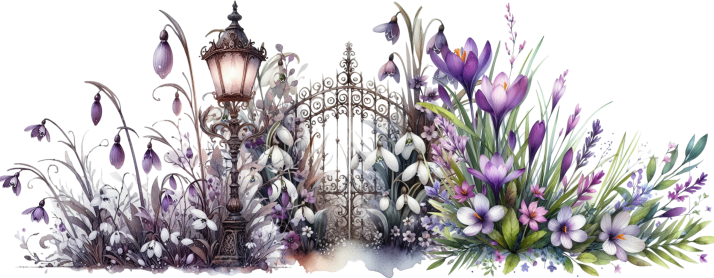
Heres my Finished paper

Keep experimenting and see what you can come up with


No comments:
Post a Comment